How to Break In Hiking Boots: A Step-by-Step Guide
Learn how to break in hiking boots properly: how long each boot type takes, the step-by-step method, and the mistakes that cause blisters.

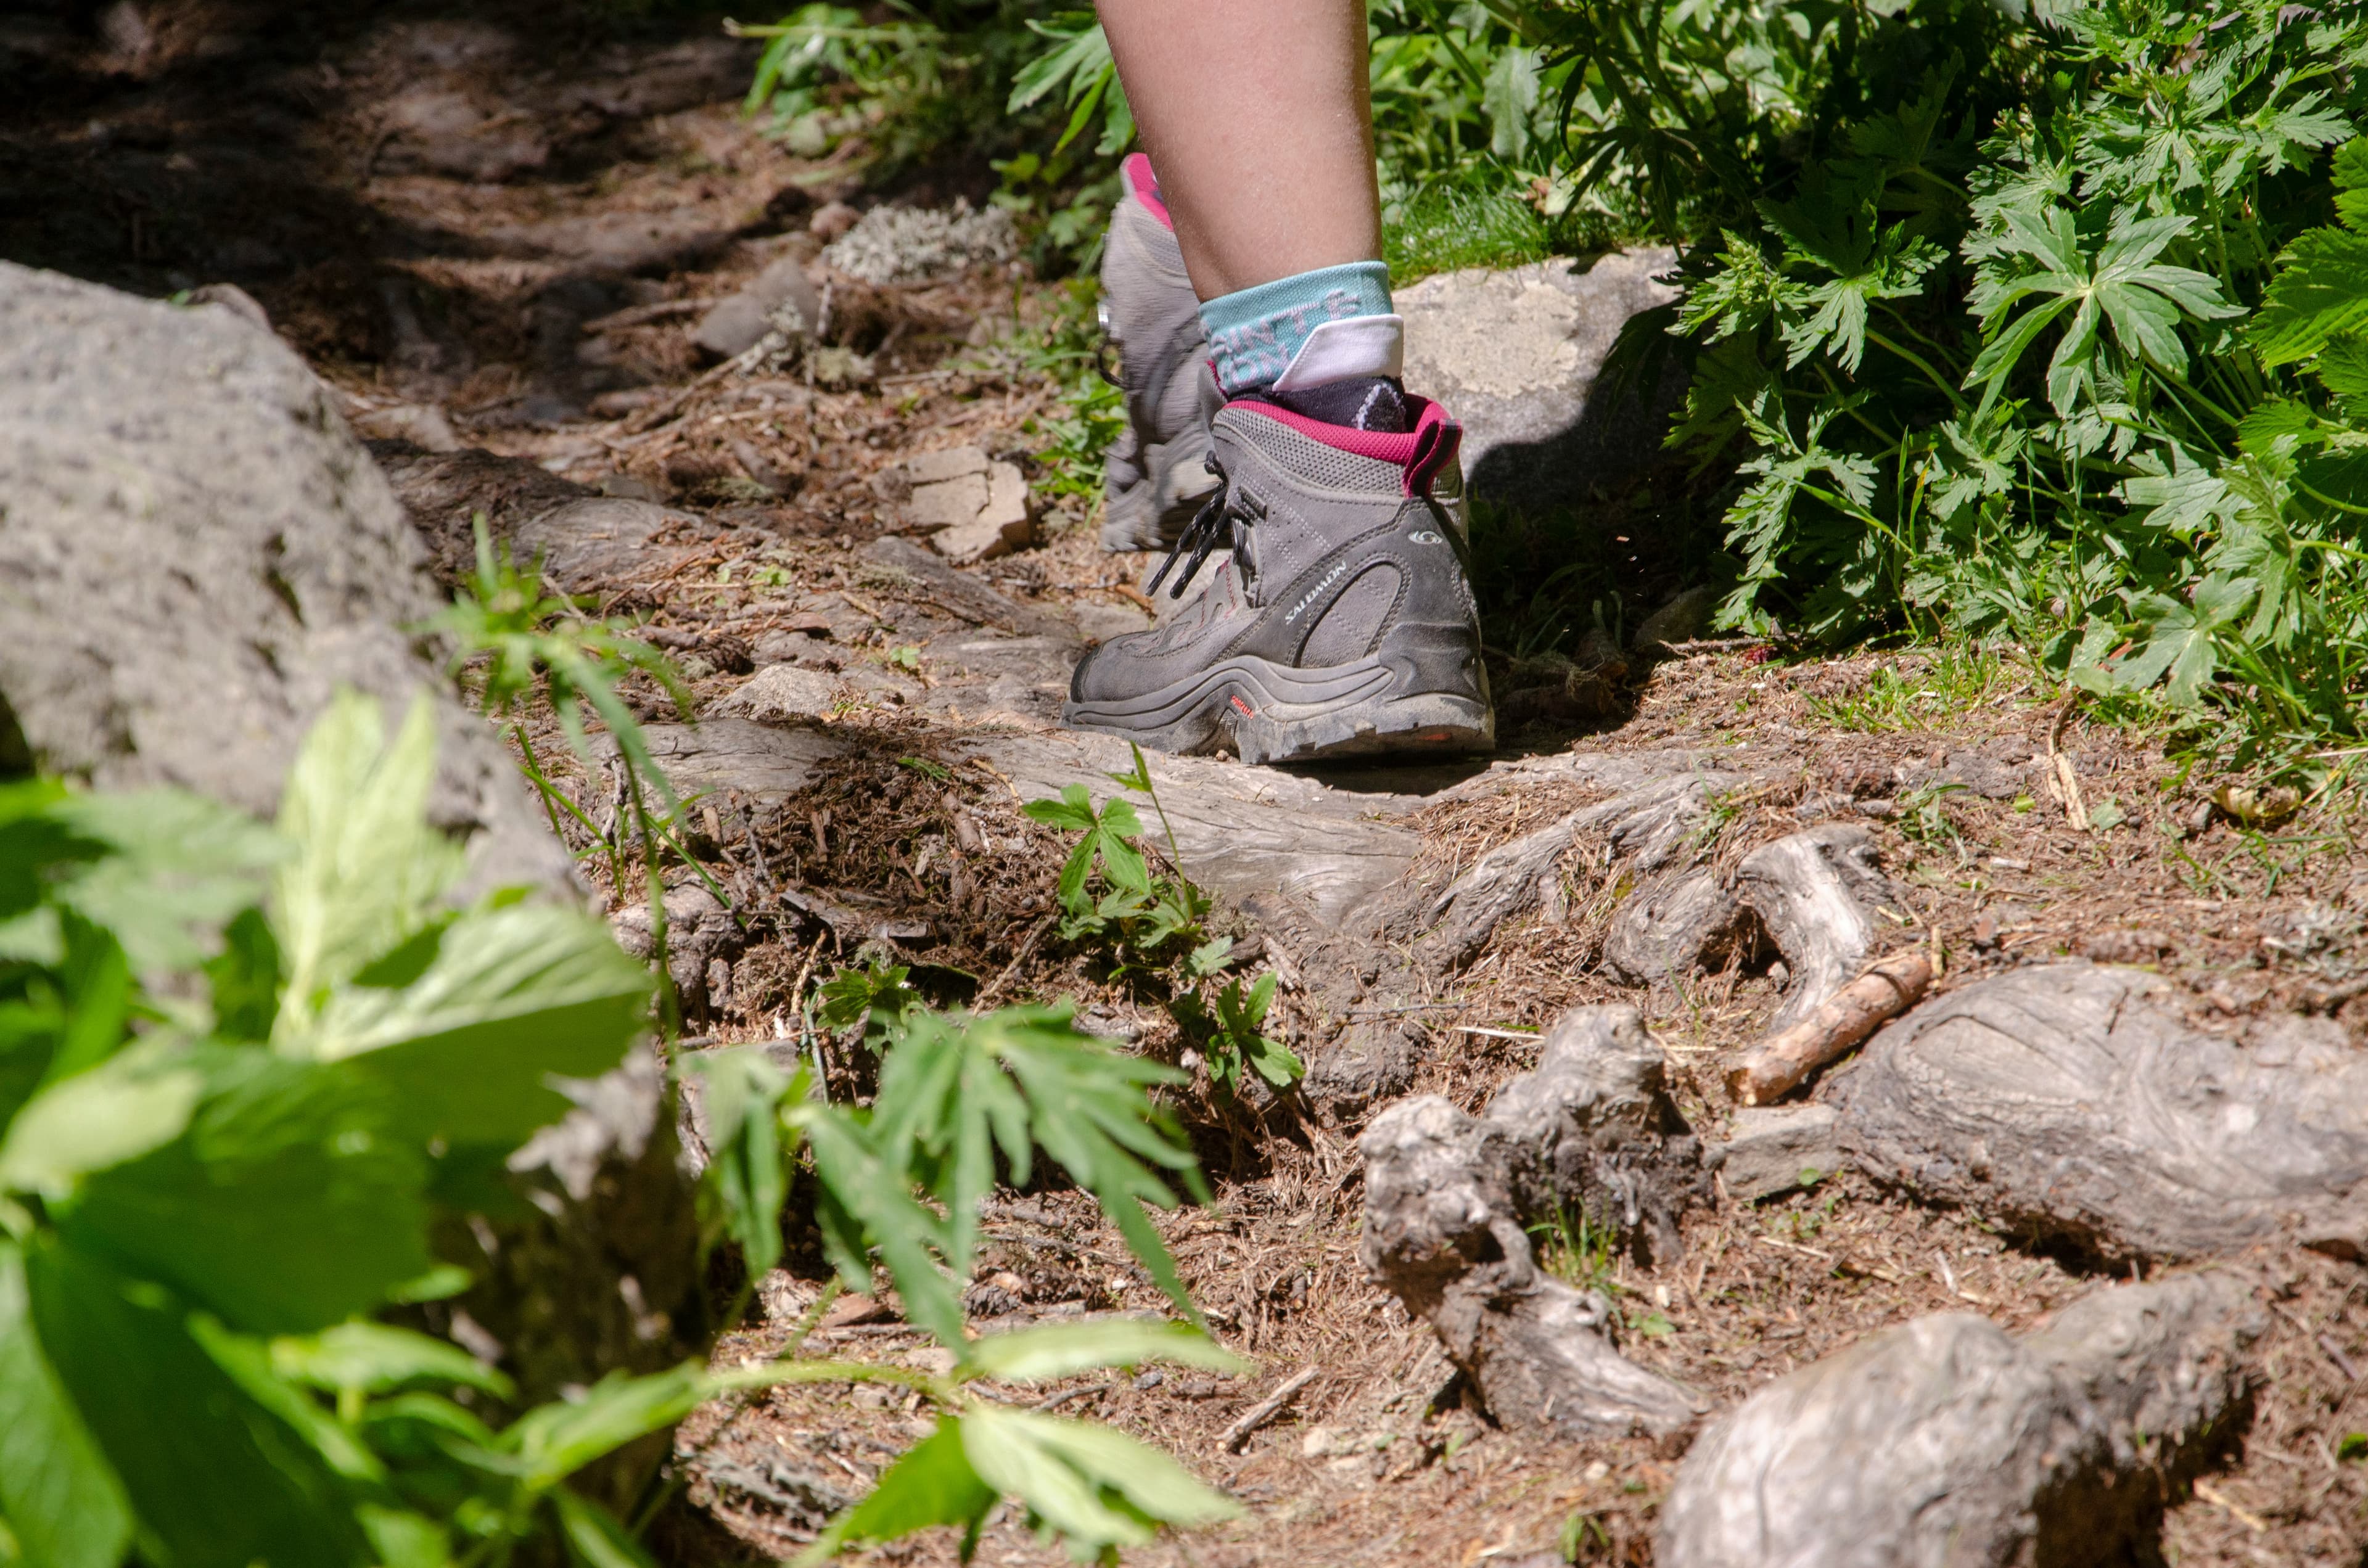
New hiking boots and blisters are not inevitable. They happen because most people never learn how to break in hiking boots properly, or they rush the job. The break-in period is real, it varies by boot type, and ignoring it is one of the most reliable ways to ruin a long walk.
The good news: done right, breaking in boots is not painful. It just takes a bit of patience and a progressive approach.
Why Breaking In Still Matters
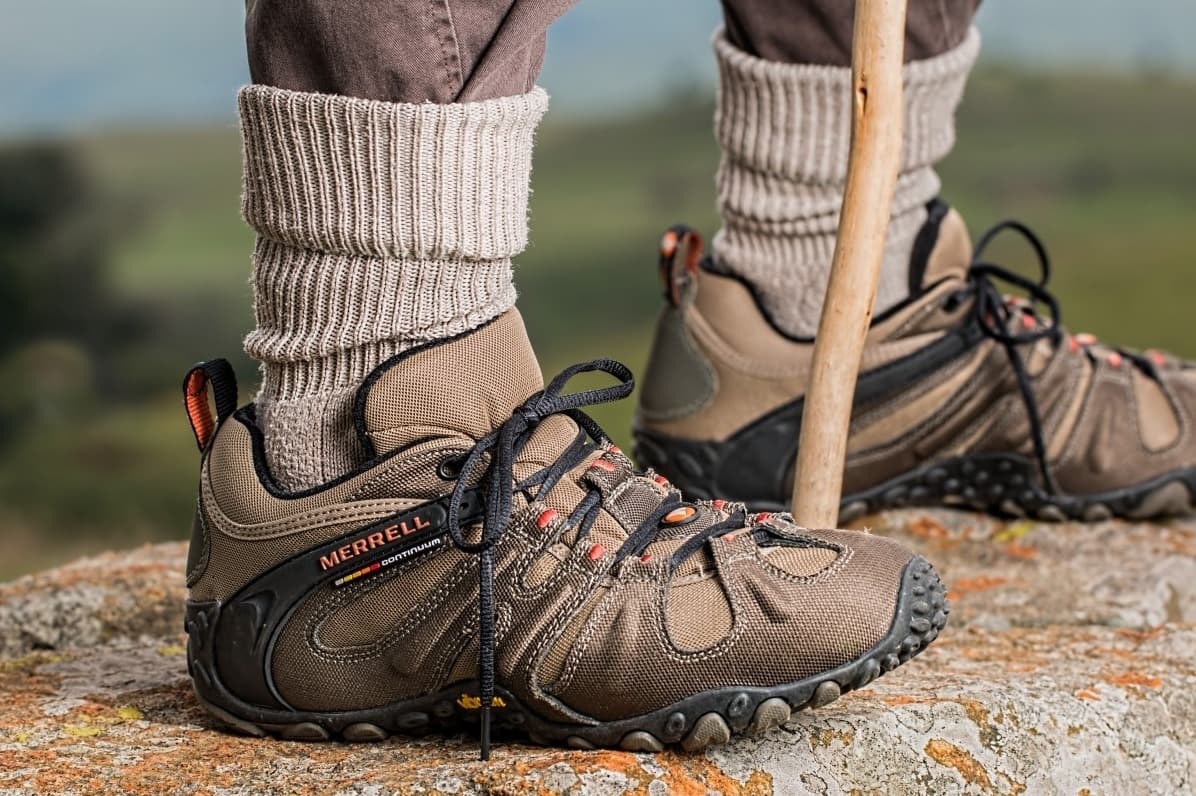
Modern hiking footwear has improved enormously. Trail runners from brands like Salomon and Hoka need almost no break-in at all. But genuine hiking boots, particularly full-grain leather models, still require time before they conform to your foot.
The reason is straightforward. The materials need to soften and flex at the specific points that correspond to your foot's anatomy. A stiff leather upper won't bend where your ankle flexes until it's had enough movement to loosen up. Gore-Tex liners take time to stretch slightly around your heel and instep. Even the midsole compresses differently depending on your weight and gait.
Breaking in a boot is not mystical. It's just wearing it enough that the materials accommodate your specific foot shape.
How Long Does It Take to Break In Hiking Boots?
Break-in time varies significantly by boot type.
| Boot type | Typical break-in time |
|---|---|
| Trail runners | 0 to 3 days |
| Synthetic hiking shoes (low-cut) | 3 to 7 days |
| Synthetic hiking boots (mid or high-cut) | 1 to 3 weeks |
| Leather hiking boots | 3 to 6 weeks |
| Full-grain leather mountaineering boots | 6 to 10 weeks |
These are rough guides. A boot that fits your foot shape well from day one will break in faster. One that needs significant moulding takes longer. If you're still getting hotspots after six weeks in a leather boot, the boot may simply not be the right shape for your foot.
Step-by-Step: The Right Method
Step 1: Wear Them at Home (Days 1 to 3)
Start by wearing your boots indoors for one to two hours at a time. This feels slightly absurd, but it's the fastest way to begin moulding the upper without generating friction hotspots on the trail.
Wear the exact socks you plan to hike in. This matters more than most people think. Thin running socks in a boot fitted for thick hiking socks leave excess room at the heel and create slipping. Thick socks in a boot sized for thinner ones compress your toes. The boot moulds around the combination of your foot and the sock, so get that combination right from the start.
Pay attention to where the boot contacts your foot. Slight pressure is normal. Sharp pain is not.
Step 2: Short Flat Walks (Days 3 to 7)
Move outside for walks of 2 to 5 km on flat or gently undulating surfaces. Pavements, parks, and easy tracks work well at this stage.
The goal is to get the boot flexing naturally where your foot bends. The crease across the toe box and the movement at the back of the ankle are the critical areas for leather boots. Each time the boot flexes in use, the material loosens slightly at that point.
If you notice a hotspot forming, stop and deal with it immediately. Walking through a hotspot turns it into a blister within an hour. A blister puts you back to day one.
Step 3: Longer Walks with Terrain Variety (Days 7 to 14)
Extend your walks to 8 to 12 km and introduce more varied terrain. A mix of flat, downhill, and uphill sections is ideal at this stage.
Downhill walking in particular stresses the toe box and heel counter, which are often the last areas to fully soften in a stiff boot. If descents bother your knees, a cushioned rocker boot from our best hiking boots for bad knees guide can help. Carry a light pack (5 to 8 kg) to simulate trail conditions, since your gait changes with weight on your back and so does the pressure distribution across the sole.
Step 4: Full Day Out (Weeks 2 to 4)
By week two, a synthetic boot should be comfortable for a full day. A leather boot likely needs a few more sessions at 12 to 15 km before you're ready to commit to a long day.
Do a test day of 15 to 20 km with the full pack weight you'd carry hiking. Finish that without blisters or significant hotspots and the boot is broken in for that load. Still getting issues at the heel or little toe? Give it more time before a big trip.
Common Mistakes That Slow the Process
Using the Wrong Socks
Different socks during break-in than you plan to hike in undermines the process. The boot moulds around your foot and sock combination. Change that combination on the trail and the fit changes too. Pick your hiking socks before you start and use them consistently throughout break-in.
Skipping the Progressive Approach
Going from zero to a long mountain day in new boots because a trip is booked is always a mistake. It's how even experienced hikers end up limping down a hill. The progressive method is the only method.
Ignoring Hotspots
A hotspot is a warm or slightly red area that hasn't become a blister yet. Tape it immediately. Moleskin, Leukotape, or a standard plaster applied directly over a hotspot prevents it progressing. Carrying on regardless is not toughening up. It just gives you a blister and sets back your break-in.
Conditioning Leather Incorrectly
Full-grain leather boots benefit from conditioning during break-in. A small amount of leather conditioner (Nikwax Leather Conditioner or Granger's G-Wax) applied to the upper before your first longer walk softens the leather faster and protects it from cracking.
Apply a thin, even coat, rub it in, and let it absorb. Too much conditioner makes the leather floppy and can reduce waterproofing. One application before break-in, one after your first wet walk.
Hotspot and Blister Management
Learning to recognise and manage hotspots is a skill that serves you well beyond break-in. A hotspot is warm, slightly red, and feels like rubbing. Catch it here and you prevent a blister entirely.
On the trail: Stop. Apply tape directly over the hotspot before continuing. Leukotape K is the most durable option and stays on even when wet. A plaster works temporarily if that's all you have.
Back home: Examine the location of recurring hotspots. The same spot appearing repeatedly means the boot is pressing there consistently. Common causes:
- Heel: Heel cup too shallow, or not enough lacing tension in the upper section of the boot
- Little toe: Boot too narrow across the forefoot
- Ball of the foot: Insole too flat or lacking arch support
- Top of toes: Boot too short, particularly noticeable on descents
Many recurring hotspot problems are solved by adjusting lacing rather than replacing the boot. Heel-lock lacing and surgeon's knot techniques can lock different sections of the foot independently. Worth researching if you keep getting heel slippage or toe box rubbing.
Recommended Gear
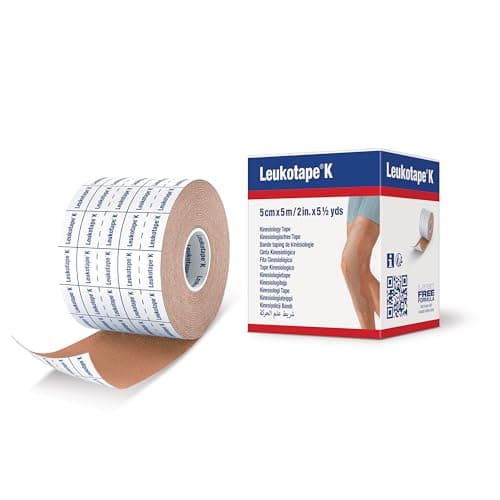 Leukotape KEssential
The most durable blister tape available. Stays on wet skin through a full day on the trail. Pre-cut strips kept in a wallet or first aid kit are ready when you need them.
- Moleskin
Classic hotspot prevention. Cut to size and apply over a hotspot before it progresses. Available in most pharmacies and outdoor shops.
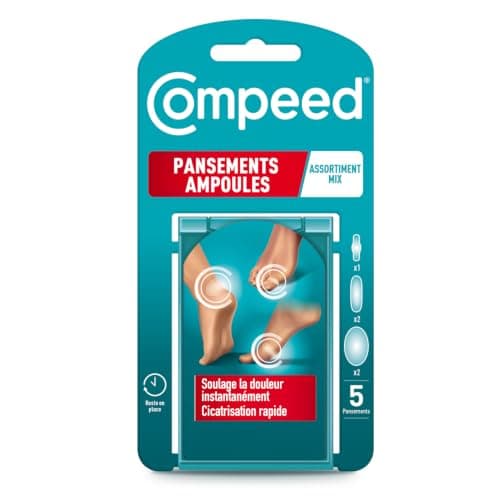
Gel-cushion plasters for existing blisters. More useful as damage control than prevention.
For full-grain leather boots during break-in. One application before your first long walk softens the upper and speeds up the moulding process.
A lightweight toe sock worn under a regular hiking sock separates the toes and dramatically reduces toe-to-toe blister risk. Particularly useful during break-in.
When to Give Up on a Boot
Some boots simply don't fit your foot shape. No amount of break-in changes a boot that's fundamentally wrong for your anatomy. There are limits to what moulding can fix.
If you're still getting blisters in the same location after six weeks of consistent progressive wear, consider:
- A different last shape. Salomon and Merrell tend toward narrower lasts. Brands like Keen and Altra use wider ones. Last shape is the single biggest factor in fit.
- A custom insole to correct arch support or heel cup fit. A decent aftermarket insole (Superfeet or Sole) costs around £40 and makes a noticeable difference to fit in many boots.
- A professional fit consultation at a specialist outdoor retailer. Staff at a good outdoor shop will watch you walk, assess your gait, and match last shape to foot shape far more reliably than online guides can.
For more on choosing the right footwear from the start, see our guides to the best cheap hiking shoes and boots and our detailed Salomon Quest Element GTX review. And if you're debating boots versus trail runners entirely, our ankle support in hiking boots post looks at what the research actually says. Before your first long day, make sure you've also got the right socks: our best hiking socks guide covers every material and cushioning level.
The Short Version
Breaking in hiking boots takes patience, not pain. Start short, build gradually, tape any hotspot before it becomes a blister, and condition leather boots to speed up the process.
If you're still getting problems after giving a leather boot six weeks of consistent progressive wear, the fit isn't right for your foot. No amount of break-in fixes a fundamentally wrong last shape. Go back to the shop and try a different model.
Last updated on June 21, 2026.

Jasper Baetens
Hiking enthusiast from Belgium, mainly active in Europe. Created HikeHeaven to share experiences, research, tips, tricks and product recommendations, or simply to help other hikers.