When Do You Need an Ice Axe for Hiking?
Not sure if you need an ice axe for your next mountain trip? Here's a clear decision framework covering conditions, slope angles, and the right axe type.

Knowing when to bring an ice axe hiking trips up a lot of people. Bring one when you don't need it and you're carrying a 500g metal implement for no reason. Leave one behind when the terrain demands it and you're a slip away from a serious fall. The problem is that the decision genuinely depends on conditions that can be hard to assess from photos and trail descriptions alone.
This guide gives you a practical framework for making the call, covers the different axe types worth knowing about, and explains what to do with the thing once you have it.
When You Definitely Don't Need an Ice Axe
Let's start with the easy cases, because most hikers don't need an ice axe for most outings.
You don't need one for three-season hiking on established trails below the snowline. If your route is summer-marked and the guidebook makes no mention of winter conditions, an ice axe isn't relevant.
You don't need one for snowshoeing on gentle terrain. Snowshoes with integrated crampons handle consolidated snow on moderate slopes without any axe required. The cutoff is roughly 25 degrees of slope. Below that angle, a slip is rarely going to carry you anywhere dangerous.
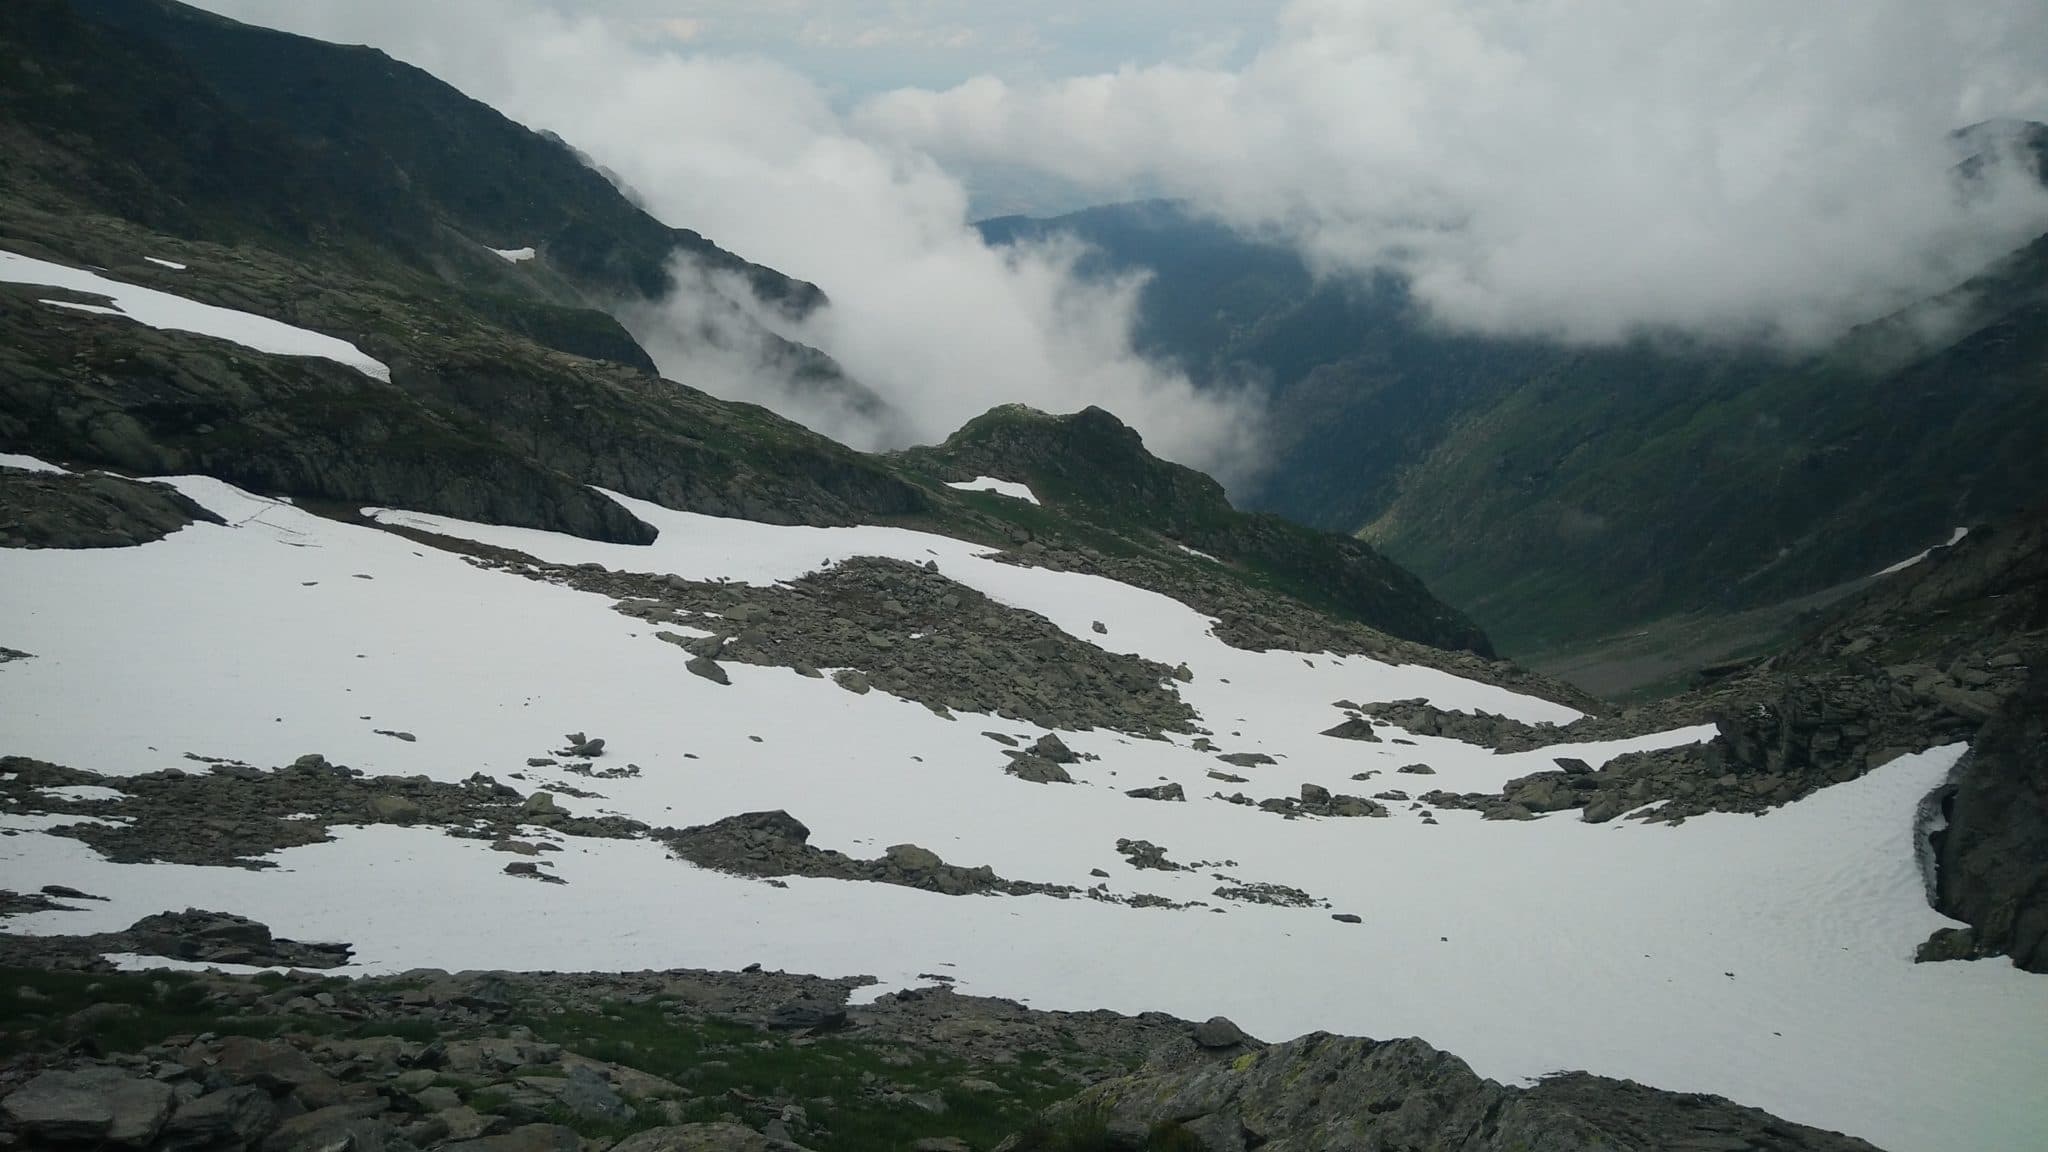
You don't need one for crossing small snow patches on otherwise rocky trails. If a snow patch is 10 metres wide, flat or gently angled, and has a safe runout if you did slip, walking poles and attentiveness are enough. Many hikers in late spring cross residual snow patches without any specialist gear.
You don't need one for most multi-day trails in summer, even if they cross high passes. Routes like the Tour du Mont Blanc, GR20, or classic alpine passes are designed for summer foot traffic and are generally clear of hard snow by late June or July.
When You Do Need an Ice Axe Hiking
The decision hinges on three factors: slope angle, snow condition, and consequence of a fall.
Slope angle over 30 degrees: On slopes steeper than 30 degrees with hard snow or ice, a slip can quickly become uncontrolled. At 35-40 degrees, an uncontrolled slide will accelerate fast enough to cause serious injury or worse. This is where self-arrest capability becomes meaningful. An ice axe gives you the ability to stop yourself.
Hard, consolidated snow or ice: The distinction between soft spring snow and hard alpine snow is enormous. On soft snow, your boot edges bite and a slip is easily controlled by digging in with your heel. On hard snow or neve (old, compacted snow), your boots slide freely and a slip becomes immediately dangerous. You can test snow hardness by kicking your toe in: if your boot penetrates easily, it's soft. If it bounces off, that's axe territory.
No safe runout: If the slope ends in rocks, a cliff, a crevasse, or any other hazard, the consequence of an uncontrolled slide is severe. Even a moderate slope becomes an ice-axe situation if the bottom is dangerous.
Glacier travel: If your route crosses a glacier, an ice axe is standard equipment, alongside crampons and usually a rope for crevasse rescue. This applies even on relatively gentle glaciers.
Types of Ice Axe
Not all ice axes are built for the same purpose. The three broad categories you'll encounter are walking axes, general mountaineering axes, and technical axes.
Walking axes (also called alpine walking axes) are long, straight-shafted tools designed for hiking and ski touring with moderate snow slopes. The longer shaft (typically 60-70cm) lets you use the axe as a third point of contact, like an uphill pole. The Black Diamond Raven Pro is one of the most trusted axes in this category at around $90. It's the right choice for most hikers who need an axe for alpine hiking and traverse conditions.
General mountaineering axes have a slightly curved shaft and are shorter (50-60cm), giving better leverage for front-pointing on steeper terrain. The Petzl Gully at around $80 is a popular lightweight option. The Grivel Air Tech at around $100 is a well-regarded choice for mixed hiking and moderate mountaineering.
Technical axes (or ice tools) have aggressive curved shafts, ergonomic grip systems, and are designed for steep ice and mixed climbing. Unless you're doing actual ice climbing, you don't need one of these.
For the vast majority of hikers venturing onto moderate alpine terrain, a walking axe is the right tool. If you're doing anything steeper than 40 degrees on hard snow, seek proper mountaineering instruction alongside a more technical axe.
Crampons: the Ice Axe's Companion
In most conditions where you need an ice axe, you also need crampons. The two pieces of kit are complementary.
Crampons provide traction underfoot. Without them, even with an axe in your hand, your boots will slide on hard snow and make controlled movement difficult. The combination of crampons and ice axe gives you two distinct layers of safety: crampons prevent the slip from starting, and an ice axe gives you a recovery option if it does.
Crampon types:
- C1 crampons (flexible): Compatible with most walking boots. Suit gentle to moderate snow slopes.
- C2 crampons (semi-rigid): For hiking boots with a stiffer sole. Better for steeper ground.
- C3 crampons (rigid): For mountaineering boots. Required for technical ice and serious alpine routes.
Check that your crampons are compatible with your boot's sole stiffness before buying. A C3 crampon on a flexible hiking boot won't work correctly.
If you're approaching the ice axe question for the first time, it's almost certain you'll also need crampons for the same terrain. Budget for both.
How to Carry an Ice Axe
Carrying an ice axe safely matters as much as knowing when to use one. An axe swinging on the outside of your pack is a hazard to other hikers in narrow terrain and can snag on obstacles.
Most hiking packs have ice axe loops and a securing strap at the top. Thread the axe spike-down through the lower loop, swing it upright with the pick facing away from you, and secure the upper part with the strap or bungee. The pick should always face away from your body and away from the direction of travel.
On the trail when the axe is in use, carry it spike forward in your uphill hand with the pick facing backward. Grip the head with your thumb under the adze (the flat blade), fingers over the top. This gives you the correct position for a self-arrest without repositioning.
Ice Axe vs Trekking Poles on Moderate Snow
On terrain below the threshold where a self-arrest matters, two trekking poles and careful footwork often serve you better than an ice axe. Poles give you two extra contact points, help with balance on uneven snow, and can probe for hidden holes or weak snow bridges.
The trade-off is that poles provide zero arrest capability. On hard snow with any slope above 25 degrees and a consequential runout, they're not enough. Some experienced hikers use a single pole in one hand and carry an ice axe in the other on transitional terrain, swapping between the two as conditions change. If you're weighing up your pole setup more generally, this guide to using one or two trekking poles walks through the trade-offs.
An ice axe also doesn't replace poles on long approaches. If your route involves several kilometres of flat or gently sloping snowfield followed by a steep section, poles for the flat and an axe for the steep section is often the practical solution. Many hikers carry both.
Learning to Use One Properly
Owning an ice axe and knowing how to use it in an emergency are two different things. The self-arrest technique requires practice on a safe slope before you need it on a real one. It's a specific physical skill: you need muscle memory to roll into the correct position quickly when you're sliding and your brain is in shock.
The basics of self-arrest:
- As you start to slide, roll onto your stomach facing downhill
- Get the pick into the snow beside your shoulder, apply downward pressure with both hands
- Dig your toes into the slope if wearing crampons
- Your body forms a diagonal, with the axe acting as a pivot to rotate you head-uphill
Practice this on a safe slope with a clear runout, ideally with someone who's done it before. Many alpine clubs and mountain guides offer half-day courses specifically on ice axe use and self-arrest. A few hours of tuition is far more valuable than reading any number of guides, including this one.
If you're heading into technically demanding terrain for the first time, the Fagaras Mountains hiking guide shows what late-season alpine routes actually look like on the ground, which helps calibrate expectations around snow conditions on non-glaciated mountain terrain.
Quick Decision Framework
Use this as your final check before you decide:
- Is the slope steeper than 30 degrees? Yes: bring an axe.
- Is the snow hard or icy (your boot edge doesn't bite)? Yes: bring an axe.
- Is there a dangerous runout if you slip? Yes: bring an axe.
- Are you travelling on a glacier? Yes: bring an axe and crampons.
- Is the slope under 25 degrees, soft, and with a clear runout? Poles and care are probably sufficient.
- Are you unsure? Bring the axe. It's better to carry it than need it.
And if you're heading into the hills for the first time and still calibrating your gear decisions, this guide to common first hike mistakes is a useful grounding in the broader principles of decision-making before you get to the more technical end of the spectrum.
Last updated on June 21, 2026.

Jasper Baetens
Hiking enthusiast from Belgium, mainly active in Europe. Created HikeHeaven to share experiences, research, tips, tricks and recommend products — or simply to help other hikers.